Steps:
- Plug a USB mouse to the Thermal Scanner, and make sure your Smart Thermal Device is connected to the internet
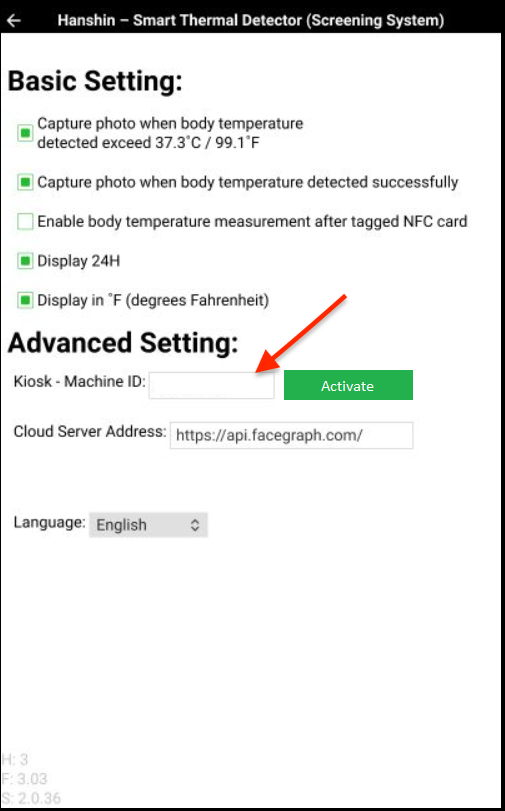
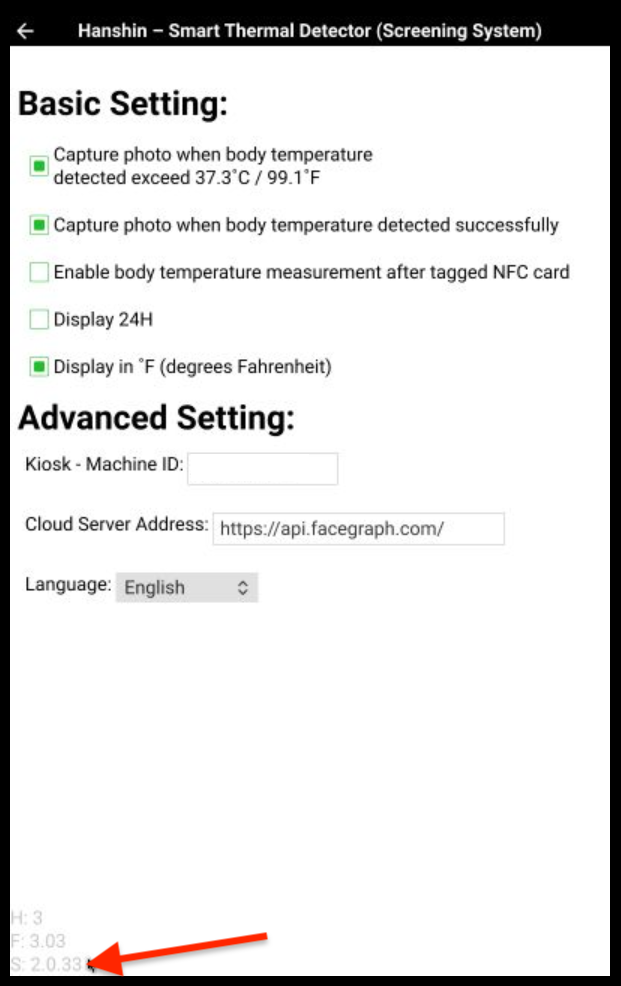
- Launch the Hanshin Measurer app to open the app Settings screen, by clicking on the silhouette icon displayed on the bottom right corner

- Take note of the the current version installed on your device; the version number is displayed at the bottom left corner of the app’s Settings screen
- Keep the Settings screen open for 60 seconds for the device to check for a available update
- Click on the Software Upgrade button displayed the bottom of the app’s settings screen

- After the progress bar has completed, you’re device has been upgraded successfully
- Make sure the Cloud Server Address is set to https://api.facegraph.com/
- Restart your device and you’re all set!
Note: - If you do not see the Software Update button, please check the following:
- Your device is connected to the internet
- The Cloud Server Address is set to https://api.facegraph.com/
- The Hanshin Measurer app settings screen has been open for 60 seconds (for the device to check for updates)
- If you purchased your Thermal Scanner after July 2020, then please skip the steps listed below.
- If your device was purchased before July 2020, your device may be on an older app version (version 2.0.23 or lower), in that case please follow these steps to do the upgrade:
- Click on the Software Update button displayed the bottom of the app’s settings screen
- Exit the Hanshin Measurer app (by right-clicking to exit the scanning app)
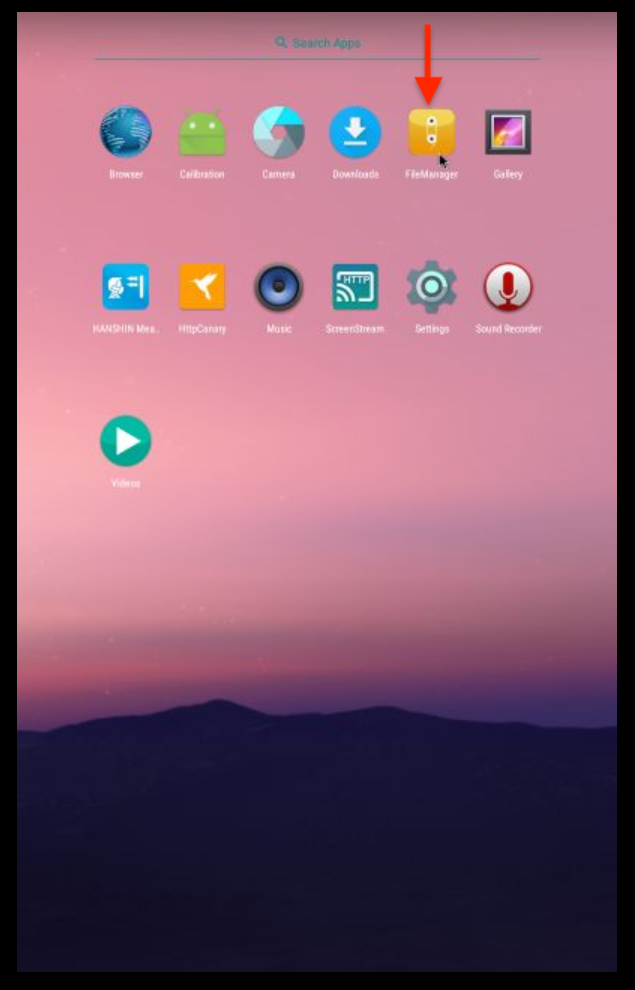
- Open the File Manager (by clicking on the File Manager icon on the device home screen)
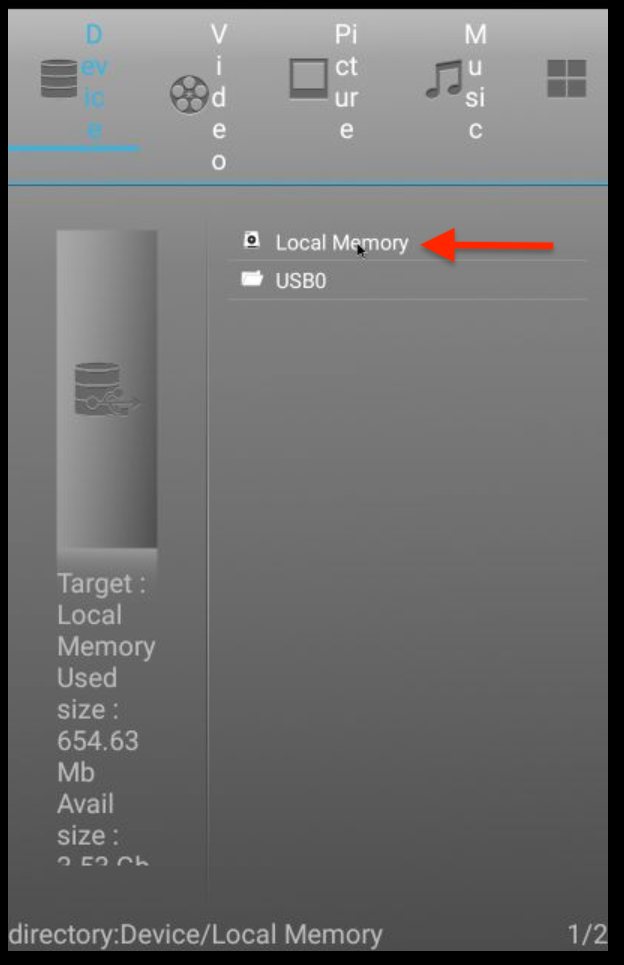
- Click Local Memory
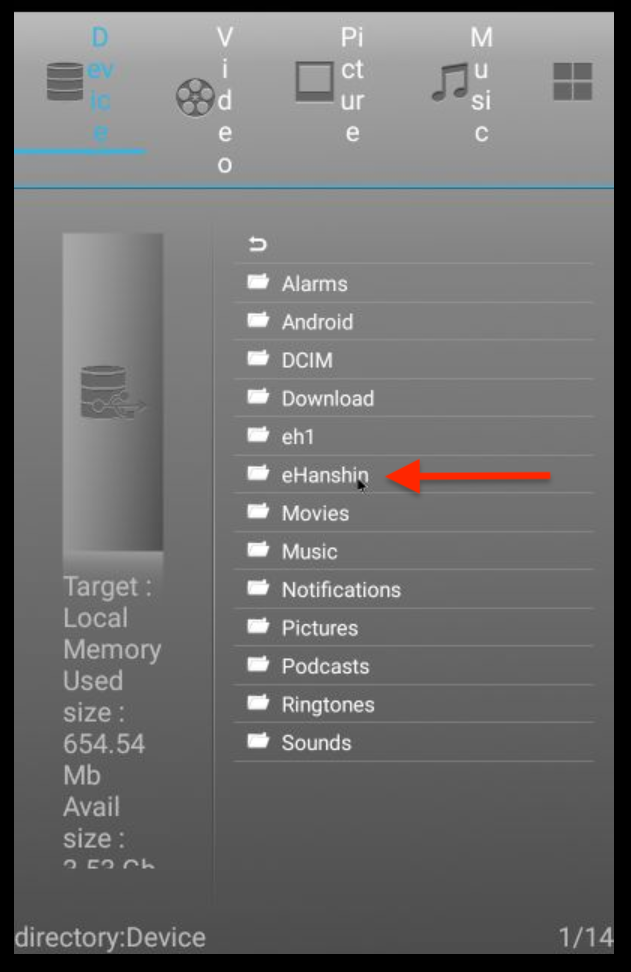
- Click eHanshin
- Click Downloads > in the Downloads folder, click on Software Update file
- The update should install, and you should see the progress bar
- Go to the settings screen of Hanshin Measurer app
- Make sure the Cloud Server Address is set to https://api.facegraph.com/
- You’re all set! For any future updates, the upgrade will be automatically installed once you click on Software Update button
- Click on the Software Update button displayed the bottom of the app’s settings screen
- If your device was purchased before July 2020, your device may be on an older app version (version 2.0.23 or lower), in that case please follow these steps to do the upgrade: